Why integrate a Google map on your website?
Integrating a Google map on your website gives your customers the exact geographical location of your company. This information is very often present in the contact page of websites, it gives all the keys needed for the user to find out more about you.
What is an API client?
An API or Applications Programming Interface key is a programming interface that enables two applications to communicate with each other.
It identifies users and their rights to use the API.
Creation stages
Step 1: Create a Google Cloud Console account

Go to the Google maps development platform at → https://console.cloud.google.com/
You’ll need to log in or create an account if you don’t have a Google account.
Next, you’ll need to create a project and assign it a name.
Tip: Even if you’re not likely to have several projects in the future, choose a relevant name so you can still find your way around later.
Step 2: Billing
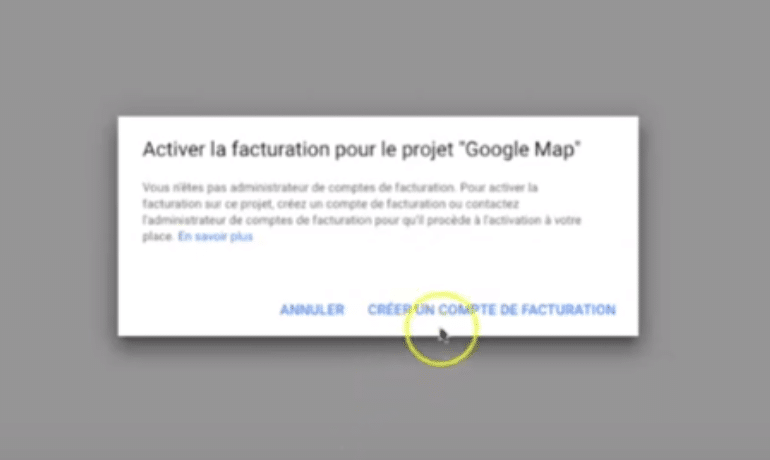
Go to the billing menu, then click on “associate a billing account”, finally create a billing account.
Next you’ll need to fill in all the information you’ll be asked for, then choose your billing method (payment by card or direct debit) and finally click start free trial.

Step 3: Activate API key
Go back to the menu on the left, access the “API and service” section and then click on “Library”.
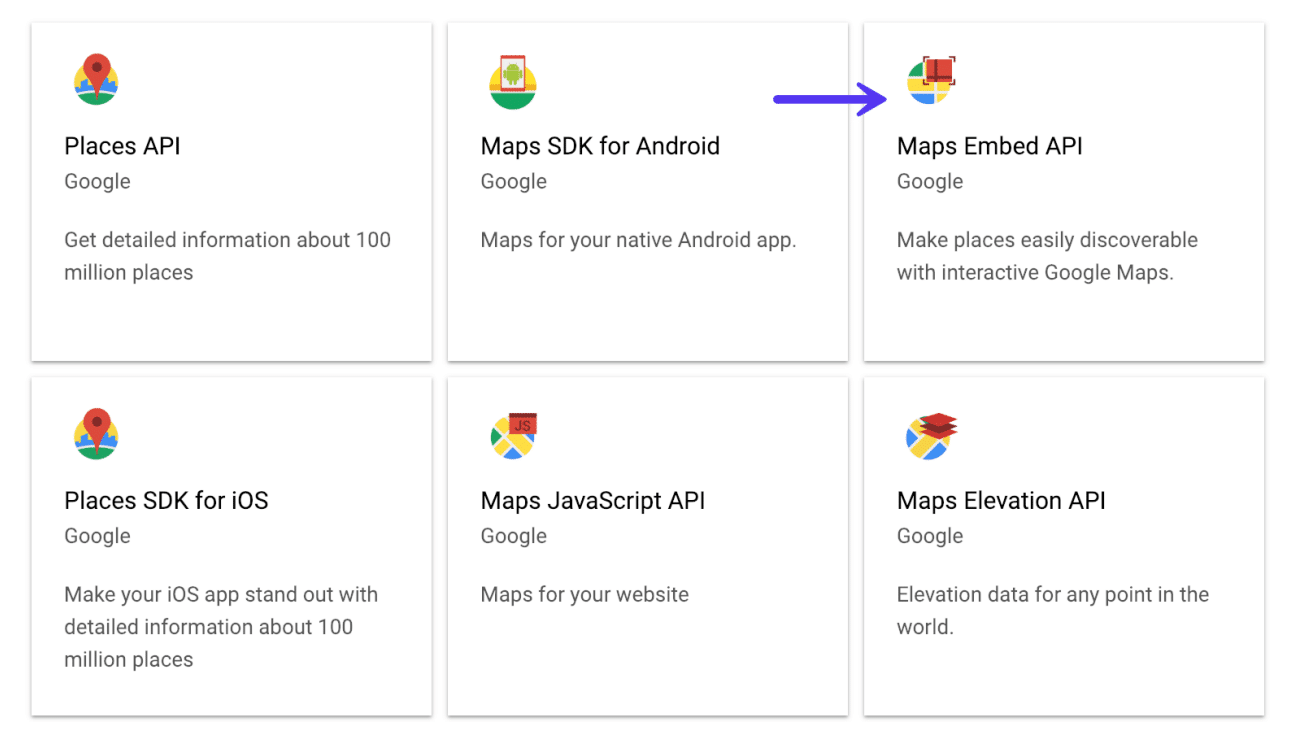
Your choice of product depends on how you intend to use it and the type of card you wish to obtain.

Some examples:
- A map on WordPress without a plugin: Maps Embed API
- If you use a plugin like Google Maps Widget: Maps Static API
- If you use a third-party plugin or theme: Maps JavaScript API
Activate your key

Once redirected to the API page, click on the ID tab and create IDs – choose API key.
Your key will appear. If your site is managed by our agency, you’ll need to send it to us. If not, you’ll need to insert it in the appropriate section of your website.
Step 4: Restrictions
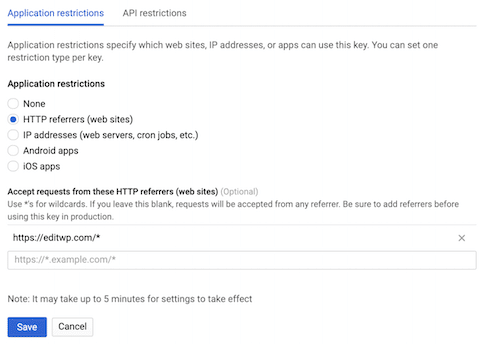
To secure an API key, first click on the secure identifiers button, then in the Name tab indicate a “custom name”.
Then, in the Application Restrictions tab, select the HTTP Referrers (Websites) option> Then click on Add an item in the Website Restrictions section>Copy/paste your site’s url into Provenance URL, adding a star in front of it: *monsite.com. Click ok then save.

Your key creation is now complete. If despite these explanations you were unable to complete the procedure, please do not hesitate to contact us.
- The search for meaning is our reason for being
- Listening skills
- Thinking skills
- Sense of detail
